If you’ve ever spent 10 minutes trading blows with an opponent only to end the match with both of your king towers at full health, you’re probably missing a core piece of your deck: a reliable win condition. New players often load their decks with strong defensive cards or flashy spells, but never stop to ask what are win conditions in Clash Royale, or how they work to secure consistent wins. I’ve been playing Clash Royale since its global launch, and I’ve seen hundreds of players climb from Arena 4 to Legendary League just by fixing how they pick and use their win conditions, no fancy new cards required. It’s not about having the rarest or highest level cards, it’s about knowing exactly which card is meant to deal damage to enemy towers, and how to support it properly.
What Are Win Conditions in Clash Royale, Exactly?
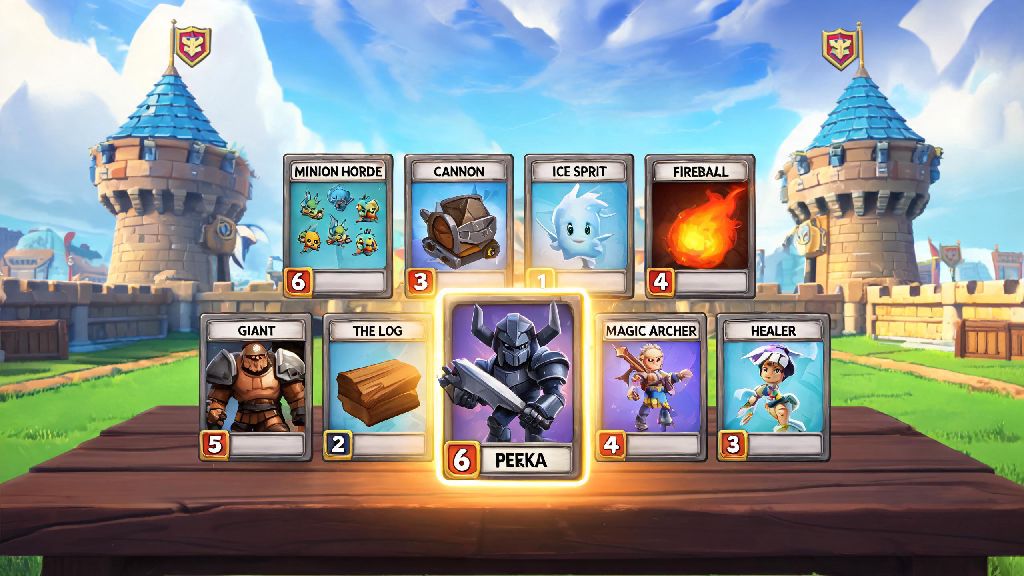
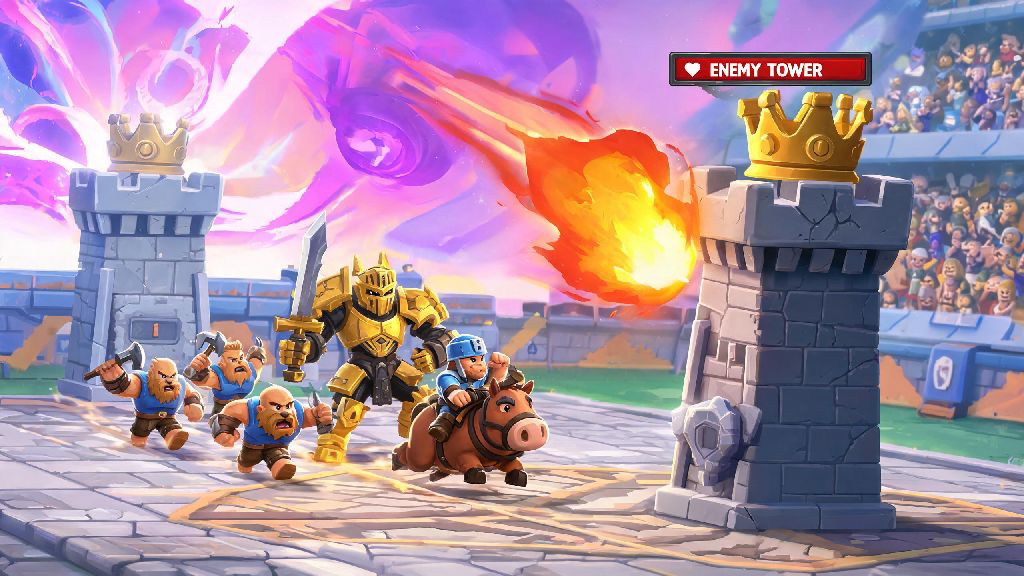
At their core, win conditions are the cards in your deck designed specifically to deal consistent, targeted damage to enemy crown towers. They aren’t the cards you use to defend against a Hog Rider rush, or the spell you drop to clear a swarm of Minions. Their only job is to reach the opponent’s tower and chip away at its health, either in small frequent bursts or big single hits. I’ve seen new players mistake heavy hitters like P.E.K.K.A. for win conditions all the time, but that’s a common mistake. P.E.K.K.A. is too slow, costs too much elixir, and is easily kited away from towers by cheap swarms, so it’s almost never a primary win condition. True win conditions have a built-in way to reach or target towers without extra support, whether that’s fast movement speed, flying, or the ability to jump over the river like the Hog Rider. You only need one primary win condition per deck, though some control decks run two secondary ones for late-game flexibility.
The Most Common Types of Win Conditions (And When to Use Them)
Not all win conditions work the same way, and picking one that matches your playstyle is half the battle. If you hate slow, defensive matches, you won’t have fun running a siege win condition, just like aggressive players will struggle with slow beatdown win conditions. From my years of testing decks across every arena, these are the most reliable win condition types you’ll encounter:
You don’t have to stick to one type forever, either. I switched from a cycle Hog Rider deck to a Golem beatdown deck when I hit Master League, and it helped me fix my habit of overspending elixir on small rushes early in the match. Each win condition has its own strengths and weaknesses, so you don’t have to pick the meta win condition that everyone else is using if it doesn’t fit how you like to play. The key is to pick one type and learn its ins and outs before you move to another, so you don’t get confused about when to push and when to defend.
How to Support Your Win Condition for Consistent Wins
Having a good win condition in your deck is useless if you don’t know how to support it properly. I’ve lost count of how many matches I’ve watched where a player drops a Golem at the bridge with no elixir left to back it up, only for the opponent to wipe it out with a cheap P.E.K.K.A. and counterpush for a tower. The golden rule for supporting any win condition is to spend more elixir on support than you spend on the win condition itself, especially for beatdown decks. For example, if you drop a 5-elixir Giant at the back of your map, you should have at least 6 or 7 elixir left to add support cards like Wizard, Baby Dragon, or Minions as it walks towards the bridge. You also need to account for common counters to your win condition. If you’re running a Hog Rider deck, you should always have a way to deal with common Hog counters like Tombstone, Inferno Tower, or Prince. That might mean carrying a Small Spell to zap the Tombstone, or a Knight to tank damage from the Prince while your Hog hits the tower. If your win condition is a Miner, you can send it to the opposite tower after you defend a push to get easy chip damage without risking a big push. So many new players make the mistake of only focusing on their own push, instead of watching what their opponent has in their rotation. You can get a good idea of what counters they have by the first two minutes of the match, so adjust your play accordingly. If they always use Inferno Tower to counter your Giant, save your Lightning spell to take it out before you send your Giant across the bridge.
Common Win Condition Mistakes to Avoid
Even if you pick the right win condition and know how to support it, small mistakes can cost you matches that you should easily win. From my own mistakes and coaching dozens of new players, these are the most frequent errors to watch out for. First, don’t run multiple unrelated win conditions in one deck. I’ve seen players run both Hog Rider and Golem in the same deck, and it never works, because you don’t have enough space for the support cards both need to succeed. Stick to one primary win condition, and maybe one low-cost secondary one if you’re running a control deck. Second, don’t drop your win condition at the bridge in the first 30 seconds of the match unless you know exactly what your opponent is running. You’ll waste elixir, and if they counter it easily, they’ll have a huge advantage to push back on you. Wait until you’ve seen at least 4 of their cards before you make your first big push. If you start the match with a 4-elixir Hog Rider and they counter it for 2 elixir, you’re already at a massive disadvantage that can be hard to recover from. Third, don’t waste your win condition on defense. It can be tempting to drop your Hog Rider to stop an incoming Golem, but that’s a terrible trade, because you’re using your only way to deal tower damage to defend, when you could use a cheaper defensive card instead. Your win condition should almost never be used for defense, unless you’re one tower down and have no other options left. Even then, it’s usually better to save it for a counterpush once you’ve defended the incoming attack.
At the end of the day, mastering win conditions is the fastest way to climb ranks in Clash Royale, no matter what arena you’re in. Once you understand what are win conditions in Clash Royale, how to pick the right one for your playstyle, and how to support it properly, you’ll stop wasting time on decks that look good on paper but never actually win matches. Don’t be afraid to test different win conditions to find what works best for you, and don’t get discouraged if you lose a few matches while you’re learning. Even the best players in the world spent months mastering their favorite win condition before they made it to the top of the leaderboards.