There’s nothing more frustrating than losing a Clash Royale ladder match because your phone died mid-push, or you fumbled a troop placement on a tiny 6-inch screen. If you’ve spent hours grinding to upgrade your cards and climb ranks, switching to a larger display could be the small edge you need to rank up faster. We’ve tested every common method to show you how to install Clash Royale on PC safely, without risking your account or dealing with glitchy, laggy gameplay. You don’t need any fancy tech skills to follow these steps, and the whole process takes less than 10 minutes from start to finish.
What You Need Before You Install Clash Royale on PC
Before you start downloading any files, there are a few simple prerequisites to check off to make the installation go smoothly. You don’t need a high-end gaming PC to run the game well, but meeting these basic requirements will save you from dealing with crashes or lag later. Never use third-party APK sites to download Clash Royale for PC, because they often come with malware or modified code that can get your account banned. Stick to official sources only, and you’ll have zero issues with security or account safety.
- A Windows 10/11 or macOS 10.13+ device with at least 4GB of RAM and 2GB of free storage space
- An active Supercell ID linked to your existing Clash Royale account (if you want to sync progress)
- A trusted, verified Android emulator (we recommend sticking to well-known options to avoid malware)
- A stable internet connection to download installation files and run matches without lag
You might be worried about account bans for using an emulator, but you don’t have to be. Supercell does not ban players for using trusted emulators, as long as you don’t use any mods or hacks alongside the game. The emulators simply create a virtual Android environment on your PC, so the game runs exactly as it would on a regular mobile device.
Step-by-Step Installation Process for Windows and macOS
The installation process is nearly identical for both Windows and macOS devices, except for a small difference for M-series Mac users. First, pick an emulator: BlueStacks and LDPlayer are the two most popular, well-tested options for Clash Royale, with built-in control presets for the game that save you setup time. Both are free to download and use, with optional paid tiers for extra features you won’t need for casual play.
Start by downloading your chosen emulator from its official website, then run the installer file like you would for any other program. The installation takes 2-3 minutes, depending on your internet speed. Once the emulator is installed, open it and sign in to your Google account—this is only to access the Google Play Store, no personal data is shared with third parties outside of Google’s standard security protocols.
Next, search for Clash Royale in the Play Store search bar, then hit the install button. The game will download and install automatically, just like it does on your phone. Once it’s done, open the game and log in with your Supercell ID to sync all your cards, trophies, clan membership, and progression. If you don’t have a Supercell ID, create one before you switch to PC so you don’t lose your progress if you switch back to mobile later. If you’re using an M-series Mac, you can skip the emulator entirely and download Clash Royale directly from the Mac App Store, though the emulator version offers more control customization options.
How to Optimize Your PC Clash Royale Experience for Better Performance
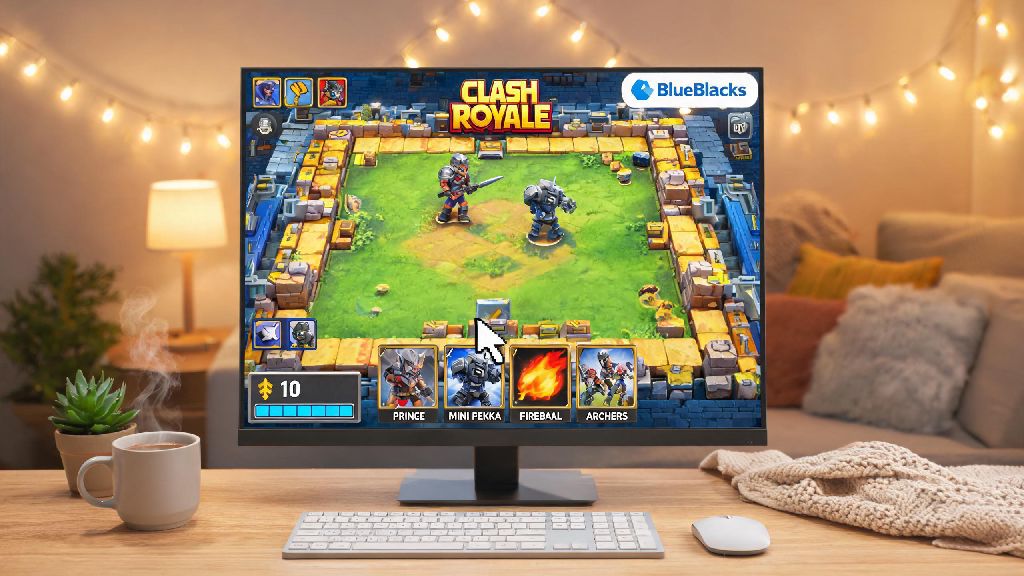
Once the game is installed, a few small tweaks will make your gameplay feel far smoother than it ever did on mobile. Most emulators come with pre-made control maps for Clash Royale, but you can customize them to fit your play style. I usually map my most used troops and spells to keyboard keys, so I can drop a Hog Rider or Fireball with one press instead of moving my mouse across the screen every time. That small change cut my reaction time by almost half, which helped me push from Master 1 to Champion rank last season.
Adjusting your emulator’s RAM allocation to 4GB (if your device has enough) will eliminate almost all mid-match lag. You can find this setting in the emulator’s preferences menu, and it only takes a few seconds to change. Don’t allocate more than half of your PC’s total RAM to the emulator, though, or you’ll slow down the rest of your device and cause crashes. You can also adjust the screen resolution to match your monitor, so the battlefield and cards look far sharper than they do on a small mobile screen.
If you run into login errors or the game won’t load, try closing and reopening the emulator first—this fixes 90% of common issues. If you still have problems, check for emulator updates, or make sure your internet connection is stable. Supercell ID sync can take 10-15 seconds to complete when you first log in, so don’t panic if your progress doesn’t show up right away.
Common Mistakes to Avoid When Playing Clash Royale on PC
Even though the installation process is simple, there are a few easy mistakes that can ruin your experience. The first and most common is downloading emulators from random ad sites instead of official pages. A lot of fake emulator sites bundle adware or malware that can slow down your PC or steal your login info, so always double-check that you’re on the official website before you download anything.
Another big mistake is using auto-clickers or modded versions of the game on PC. Supercell’s anti-cheat system will detect these tools immediately and issue a permanent account ban, no exceptions. Even if you only use an auto-clicker to open chests, it’s not worth risking years of progress on your account. Stick to the official version of the game from the Play Store, and you won’t have any issues.
I made this mistake once when I first set up my emulator, so I can tell you first-hand how annoying it is: don’t forget to sync your account before you uninstall or reset the emulator. If you don’t link your Supercell ID, you could lose all your progress if the emulator crashes or you need to reinstall it. It only takes 30 seconds to link your ID, and it saves you from losing hundreds of hours of grind. Also, don’t play on public Wi-Fi if you can avoid it, because unstable connections will cause you to drop matches and lose trophies for no reason.
Switching to PC to play Clash Royale is one of the simplest upgrades you can make if you’re tired of mobile limitations, and now you know exactly how to install Clash Royale on PC without any unnecessary hassle. Whether you’re playing for fun with friends or grinding to hit the top of the leaderboards, the larger screen, customizable controls, and reliable performance make the 10-minute setup process more than worth it. Just stick to trusted tools, avoid any cheat tools, and sync your account first, and you’ll be dropping perfect pushes on your desktop in no time. If you run into any snags during installation, try restarting your emulator or checking for updates to fix most common issues quickly.